Before you start
To complete this guide, you’ll need:- Databunker Pro installed
- (Optional) A Databunker Pro License Key.
Automating your deployment? You can complete this setup over the API without a browser — see Unattended installation.
Copy the generated access code from the logs
When Databunker Pro starts for the first time, it generates a six-digit access code and outputs it to the service logs. How you read the logs depends on how you deployed Databunker Pro:- Docker Compose
- Kubernetes
From your
docker-compose-* directory, follow the Databunker Pro container logs and wait for the access code, then press Ctrl-C to leave the log view:Complete the setup in your browser
To complete the setup, you’ll need access to the Databunker Pro web interface from your browser.1
Open the web interface in your browser
By default, the web interface is exposed on port 3000.
2
Submit access code and license key
You have three options for the license key field: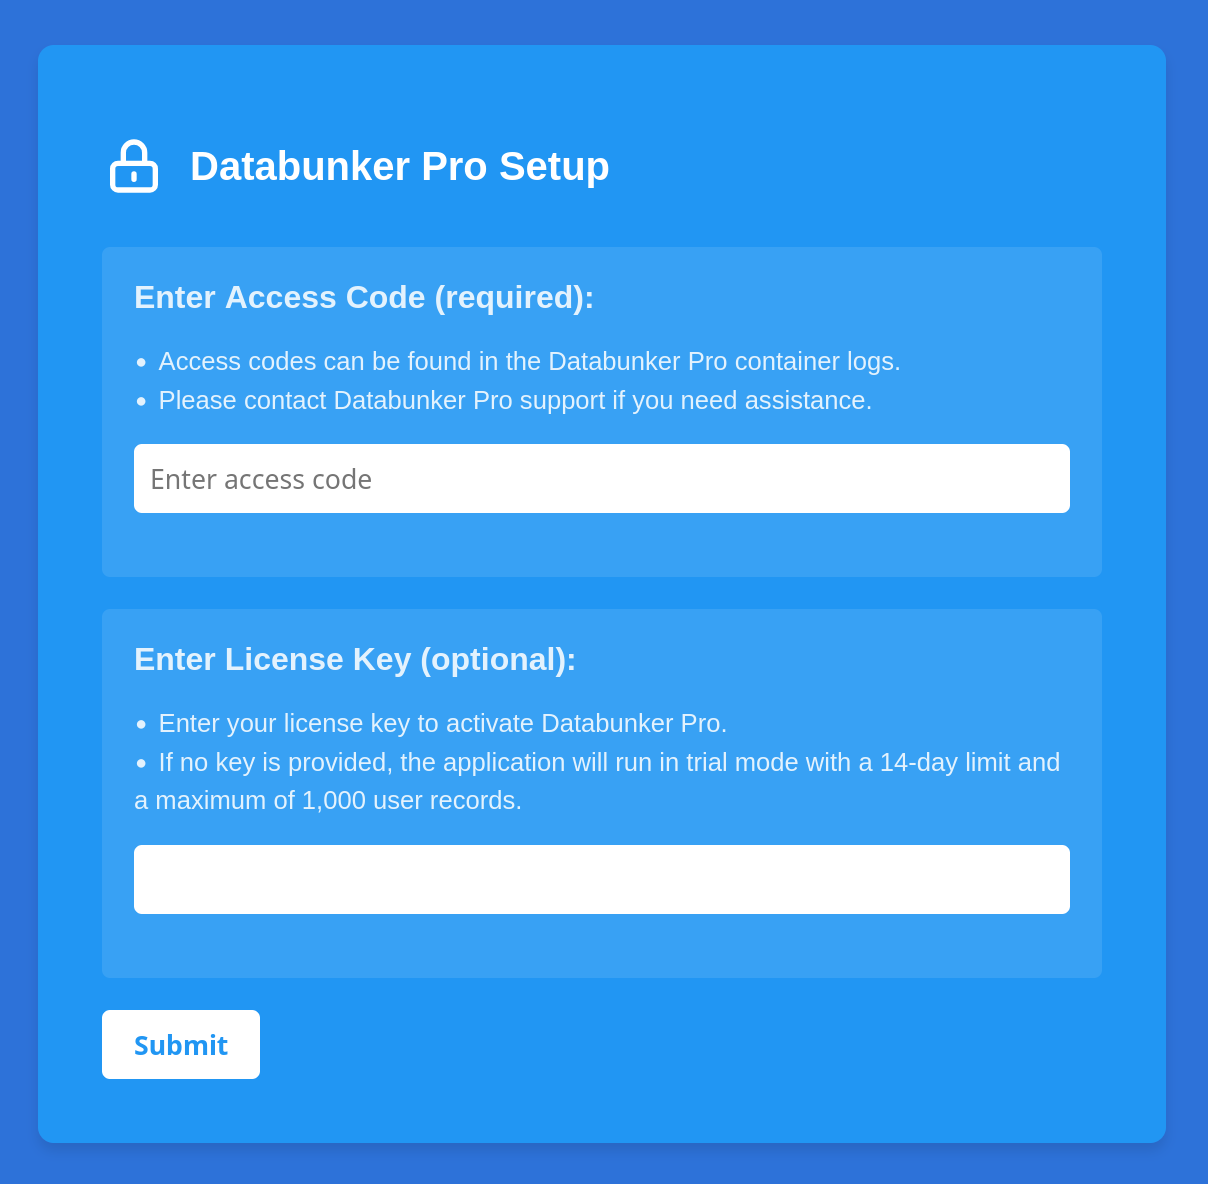
- Trial license key — create a free trial account at portal.databunker.org/trial and generate a key that covers up to 1 million records for 30 days.
- Leave it empty — Databunker Pro runs in Trial mode, limited to 1,000 records for 14 days, which is enough to evaluate it.
- Paid license key — request a production license in the Databunker Portal and fetch the key once it is approved.
Trial mode expires 14 days after setup, after which the vault becomes read-only. A portal trial key raises this to 1 million records for 30 days. See Licensing and limits for record caps, expiry behaviour, and how many licenses a deployment needs.
3
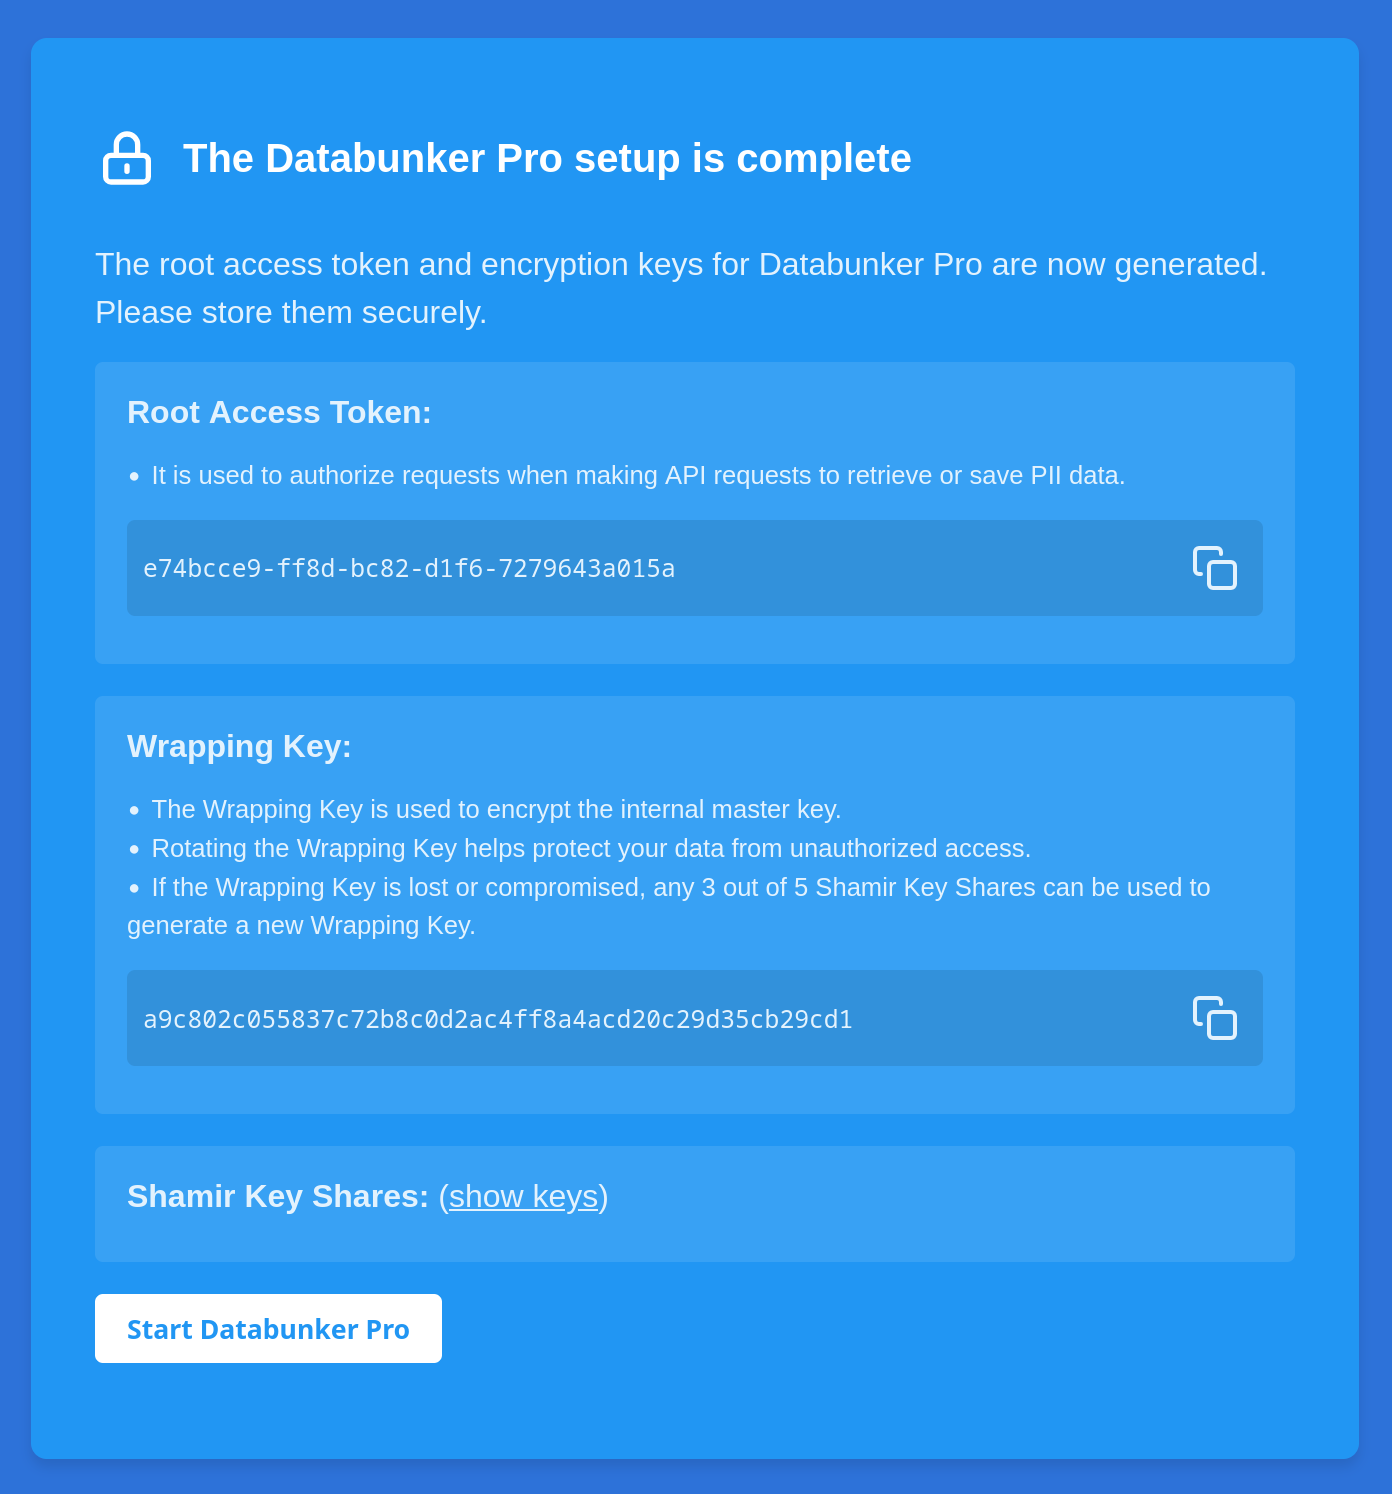
Copy the generated secrets
Copy the following secrets from the page and store them securely:
- Root Access Token
- Wrapping Key
-
Shamir Key Shares
4
Start Databunker Pro
Finally, click Start Databunker Pro to start the service.